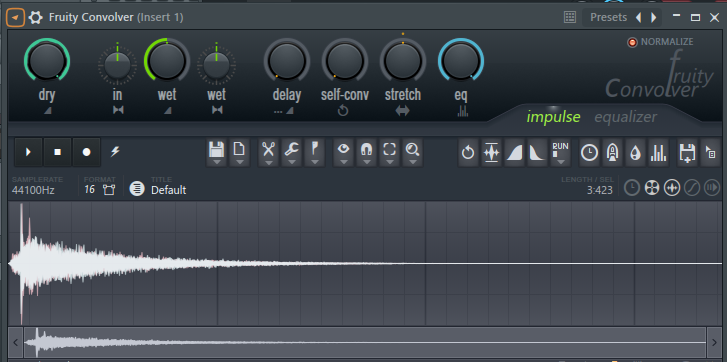
As well as synesthetic sensations of color, taste and smell, recorded sound can carry images, in the literal sense of pictures. This may look complicated but it’s pretty straightforward: when we record a sound, the microphone will record not only the sound source, but also physical information of the ambience where the sound is being played, such as material textures, colors, images found in the room or any other space where the sound is recorded. In other words, if we record ourselves clapping our hands in a small empty square neon lit room with the walls painted red, the handclap sound will register the sound dynamics (echoes, reverberations, etc.) of a small square room and will also transfer the color red to the brain. So what if we put a big brand logo on each wall? If the room is well lit and the sound is loud enough, those brand logos will “be” in that recorded sound. So this would be a way, degrading through a big speaker in a room painted with our logo. But, of course, this is not a very practical way. An easier way to do this would be using a smaller speaker inside a box padded with one or more prints of our logo. This can be done with each loop, but the result wouldn’t be very pleasing, because the loops are better degraded in a dark box, to neutralize the ambience and bring out the sound coloration. What we need to do is use the logo branded box to record a reverb, which can be later EQd, compressed and mixed together with the dry loops (as shown in the “how to produce a track” tutorial). In the olden days, you had to play the whole track in real time inside the box, these days you can use a “convolution reverb”. A convolution reverb is a special kind of reverb that will recreate virtually a reverb ambience, starting from an “impulse” (a short, loud sound) recorded in that ambience. There’s a good one bundled with FL Studio.
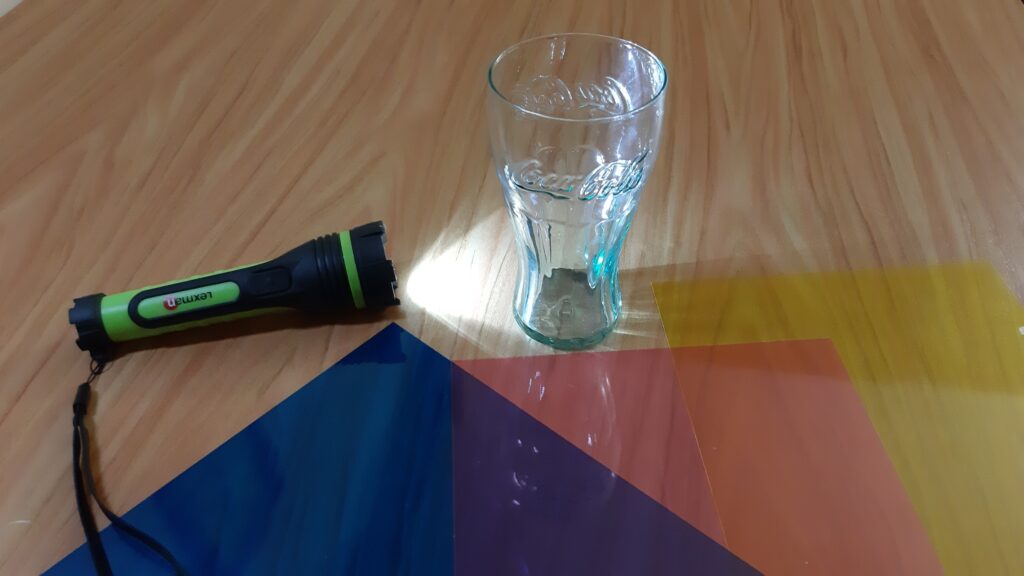
The instructions generally say you have to record a loud noise – shooting a blank gun or popping a plastic balloon – inside the room you want to use as reverb ambience. But really, clapping your hands loud inside the room also works. If you want to use a box with prints of the brand logo on the inside walls, you can record the impulse through a pair of cellphone headphones plugged into the audio jack, because the typical laptop jack will carry microphone input and speaker output at the same time. So you can record the impulse in FL Studio through the following technique
- place the earplugs on the bottom of the box
- hang the microphone midway in the box space
- cover the box with a translucid sheet such as an office kind plastic punched pocket folder
- light from above with a torch
- play a crisp short sound such as a snare on a FL Studio fader
- record the earplugs output back into the microphone input on a different FL Studio fader, disabling the master output to avoid feedback
- Clean the noise, amplify, trim and save
This will be the impulse you will load in the convolution reverb and will recreate the ambience, size, shape, material texture of the box you used, as well as any images contained in it. You must now put this reverb on a separate fader, send the dry sound to the reverb fader, turn down the dry signal on the reverb. Then add effects to the reverb fader. Most of the times you want to make it transparent, by turning all the way down frequencies around 500Hz, and you want to roll-off annoying frequencies, turning halfway down 5000Hz and 1500Hz. At least for lo-fi sound produced with a cellphone. But it’s really up to your taste.
For the demo track below, I’ve used a Coca-Cola glass with the logo embossed and I’ve made it red in CMYK quadrichromy, which is, I’ve recorded 5 separate impulses lighting the glass with a colored light obtained by shining a torch through acetate sheets colored Cyan, Magenta and Yellow. For the Black channel, I just turned off the lights and recorded the impulse, then I recorded a White light impulse to be mixed in a proportion equal to 100 – K (Black) value.
Then I’ve put all the impulses on separate channels in the step sequencer and gave each volume knob the CMYK values of a red hue I grabbed from a commercial Coca-Cola illustration, using the GIMP color picker.
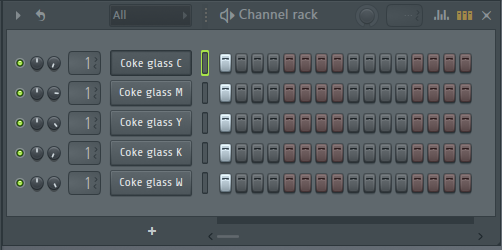
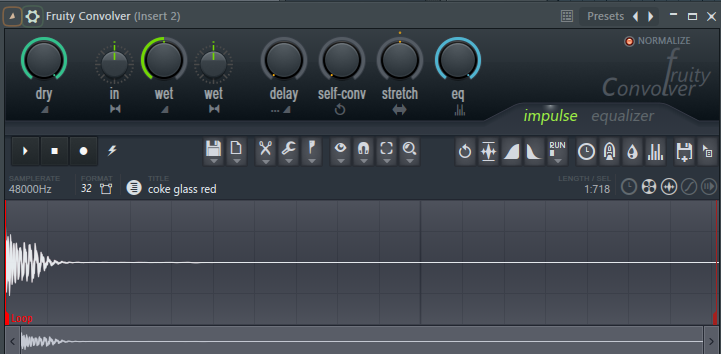
Finally I saved the resulting pattern to a sound file, which I then loaded as an impulse into the convolution reverb. This way, I obtained a red reverb with the Coca-Cola logo embossed in glass.
I have used the reverb on the drum hats, which always describe to the brain the ancestral image of water – or a liquid anyway – and the percussions, which remind of soda bubbles. The hats and percussions were inverted to make them taste sweet, the reverb was heavily compressed with the knee to zero, to make the surface hard, and made transparent by rolling off entirely frequencies around 500Hz, to make it look like the reflex of the sound on a bubble surface. So when you listen to this track, the image of a sweet bubbly liquid with a red Coca-Cola logo transfers to your brain. To be honest, this probably sounds rather like a warm PET plastic bottle of Coca-Cola, the way you find it on the grocery store shelf, rather than icy cool Coke inside a glass, because I couldn’t spend enough time refining the sound, but it’s enough to show you the principle. Usually the reverb must be inverted, in order to get the bubble effect, so you must plan carefully all the polarity inversions in order to create the image of an inverted reflex on a transparent hard surface with a sweet taste. Here’s the result.
This is just an example. Lots of combination of boxes, containers and prints can be tried, keeping in mind that a graphic kind of image, better if black on white background, transfers more effectively compared to a color image or a photo.
If you don’t want to use a brand logo, you can reverb in colored boxes or boxes padded with paper painted with acrylic, printed with an inkjet printer, other colored materials such as plastics, fabrics (but fabrics tend to absorb and dull reverb), etc. As explained, this can be done in CMYK, mixing impulses of each color and a White value of 100 – K (Black). An interesting experiment is degrading or creating a convolution reverb inside archive boxes sprayed with day-glo paint and lit enough to make them shine in the dark (once the box lid is closed and you place the recording equipment), such as those used for certain 1960s psychedelic rock tracks.